Download Time Machine Texture Automator Graphics
Instantly apply 40 different vintage textures to your designs, logos, typography, and illustrations.
How to use Time Machine:
PHOTOSHOP
1) Time Machine Automator: (Demonstrated in video) Paste your Pixel or Vector design to the designated Smart Object layer. Choose any combination of 40 textures, then you are done!
2) Photoshop Brushes: Just double-click on the .abr file and these brushes will load into your Photoshop Brushes Palette. Select a brush, and click to paint in your texture!
3) Layered Tiff: Textures with a transparent background. Perfect for power users who want to dig in and fine-tune the textures.
ILLUSTRATOR
4) Bitmap Tiff: Place these textures right into your Illustrator files. You can color these pixel-based images as if they were vector textures! Or you can get fancy and use the “opacity mask” method to knock transparency right through your vector design! (Demonstrated here: https://vimeo.com/134163965 )
This collection of 40 Textures includes a variety the following styles:
• Analog Halftones (imperfect halftones from vintage magazines)
• Bad Photocopy
• Vintage Book Cover
• Fabric Textures
• Garage Textures
• Grit
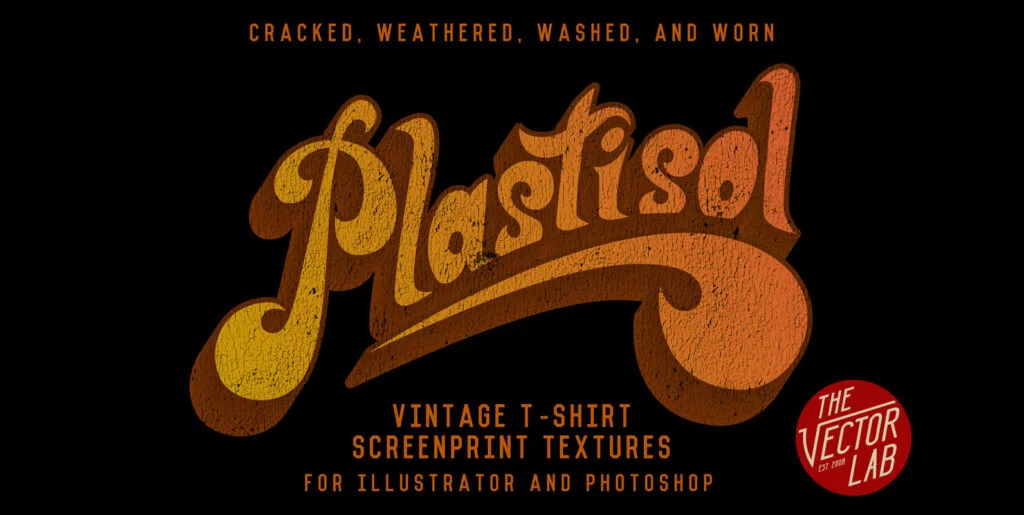
• Plastisol (cracked t-shirt ink)
• Time Machine (vintage texture)
Each of these 40 Textures comes in the following formats:
• Time Machine Automator PSD template (4000 x 4000 pixels – the easiest and fastest way to add texture in Photoshop)
• Medium Resolution Photoshop Brushes (1500 x 1000 pixels – for the oldest versions of Photoshop)
• High-Resolution Photoshop Brushes (2500 x 1667 pixels)
• 4K Photoshop Brushes (4000 x 4000 pixels – for Photoshop CC users)
• Layered TIFF Textures (4000 x 4000 pixels – black textures on a transparent background)
JPEG Textures (3000 x 2000 pixels – a “softer” version of the textures with lots of light to dark greyscale values)
Bitmap TIFF Textures (12000 x 12000 pixels – these files are the ones you use in Illustrator)
Published by Dombroski Design, Inc
Download Time Machine Texture Automator


